Accessing settings
To configure your clinic, click <strong>«Settings»</strong> in the side menu of the panel. This section lets you customize the AI assistant's behavior and your clinic's data.
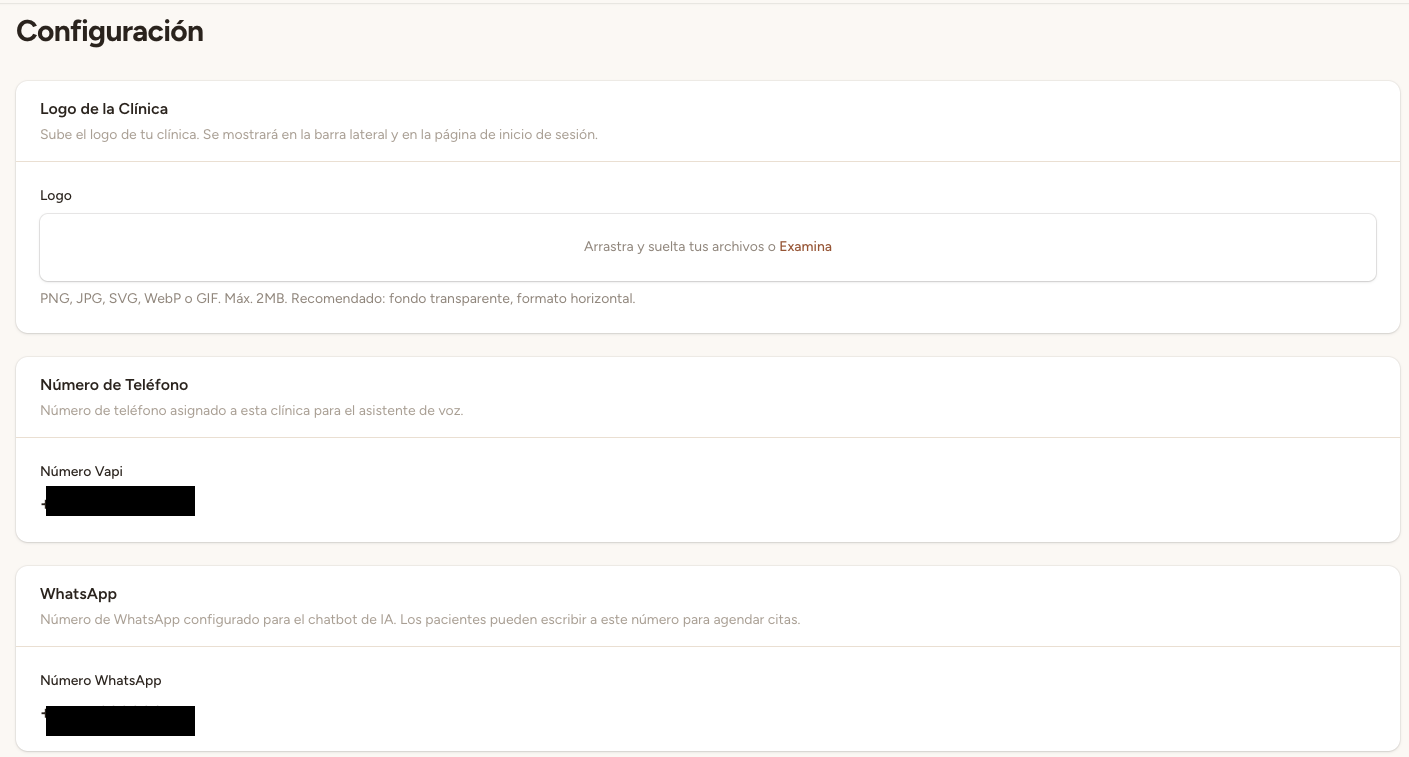
General settings
In the general section you can configure the basic aspects of the assistant's operation:
- Assistant name — The name the assistant uses to introduce itself. For example, if you name it «Laura», the assistant will say: «Hello, I'm Laura, the virtual assistant at your clinic...»
- Opening and closing times — Defines your clinic's business hours. The assistant uses these times to calculate real availability.
- Slot duration — The duration of each appointment interval, 30 minutes by default. This value affects how available time slots are calculated.
Payment methods
Configure the payment methods your clinic accepts. Available options are:
- Cash
- Credit/debit card
- Bank transfer
- Bizum
- Health insurance
The assistant mentions these payment methods during the call if the patient asks about payment options.
Appointment confirmation mode
You can choose how appointments created by the assistant are confirmed:
- Automatic — Appointments are confirmed automatically without staff intervention. Ideal for clinics that trust the automated process.
- Manual — Appointments remain in «pending» status until a staff member confirms them from the panel. Ideal for clinics that want to supervise every appointment.
- Ask patient — The assistant asks the patient whether they want to confirm the appointment immediately or prefer the clinic to confirm it later.
Notification channel
Configure the default channel for appointment notifications. This channel is used when the assistant creates a new appointment:
- WhatsApp — Sends a WhatsApp confirmation to the patient. Requires prior Twilio WhatsApp configuration.
- SMS — Sends an SMS confirmation to the patient. Requires a configured Twilio number.
- None — Sends no automatic notification. Staff can notify manually if desired.
Online payments and receipts
In the <strong>«Payments»</strong> tab of the settings you connect your Stripe account and enable online payments:
- Stripe Connect — Connect your account to receive payments directly, with no intermediaries.
- Deposit at booking — Ask for a fixed amount or a percentage to protect your calendar against no-shows.
- Prepayment and online balance — Let the client pay the full amount up front or settle the balance from their payment link.
- Receipts — Enable receipts to generate the proof of payment when completing an appointment, with a customisable footer text.
ℹ️ More detail
For the full step-by-step guide, see the «Payments & billing» category in the Help Center.
Transfer to human
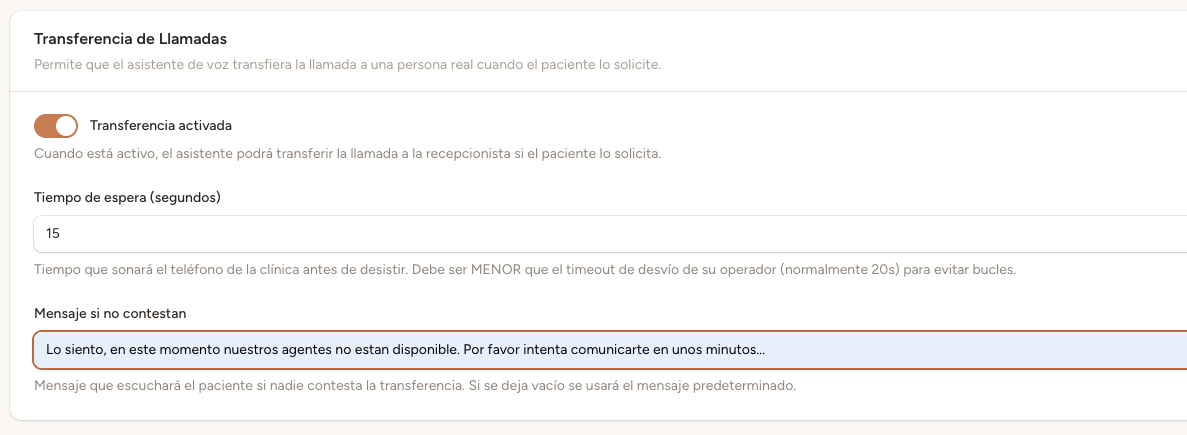
You can enable call transfers to a human receptionist when the assistant cannot resolve the situation. Configure the following parameters:
- Enable/disable — Enables or disables the assistant's ability to transfer calls.
- Timeout — Seconds the assistant waits before transferring the call (15 seconds by default). If the receptionist doesn't answer in that time, the fallback action is triggered.
- Fallback message — The message the assistant says to the patient if the transfer fails. For example: «I'm sorry, no colleague is available right now. Can I help you with anything else, or would you prefer we call you back later?»
⚠️ Automatic sync
When you modify any clinic setting, changes are automatically synced with the AI assistant. This means the assistant will update its behavior immediately for subsequent calls. Make sure to review changes before saving.
💡 Tip
After changing any clinic setting, make a test call to verify the assistant behaves as expected. This lets you confirm that changes were applied correctly.