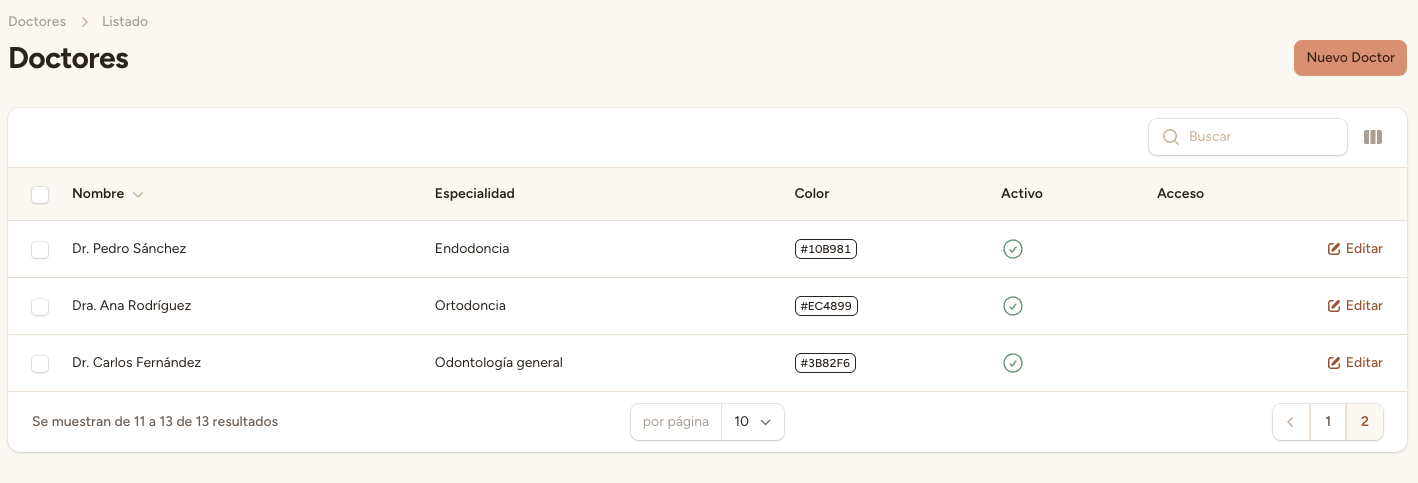
Step 1 — Go to the Doctors section
Open your clinic panel and click «Doctores» in the side menu. Then click the «Nuevo doctor» button in the top-right corner.
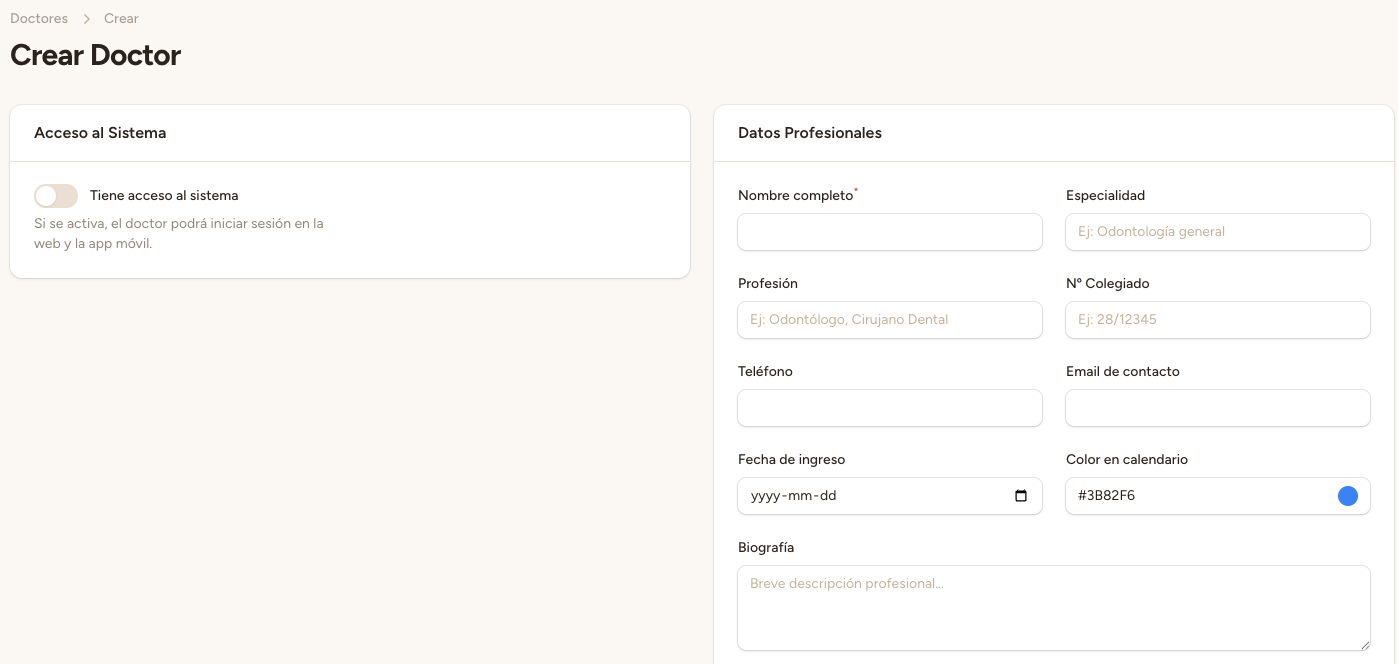
Step 2 — Fill in the doctor's details
Fill in the doctor's details:
Full name with title — For example, «Dr. Carlos Fernández» or «Dra. Ana Rodríguez».
Specialty — For example, «General dentistry», «Orthodontics», «Endodontics».
Phone and email — Doctor's contact details (optional but recommended).
Calendar color — Choose a color in hexadecimal format (for example, #3B82F6). This color will be used to identify the doctor's appointments on the calendar.
The color you choose will appear as the background for that doctor's appointments in the calendar view. Use different colors for each doctor so you can tell them apart at a glance.
Step 3 — Assign services to the doctor
In the doctor's edit form, find the «Servicios» section and check the services this doctor can perform. For example: Dental cleaning, Filling, General checkup.
Assigning services correctly is essential. The AI assistant uses this information to know which doctor can perform each service when booking an appointment by phone. If a doctor has no services assigned, the AI will not be able to assign appointments to them.
Step 4 — Save
Click «Guardar» to create the doctor. The system will automatically update the AI prompt to include the new doctor and their services.