Before you start
To create an appointment you need to have at least the following configured:
- A service — with a defined duration (e.g., Dental cleaning, 30 min).
- A doctor — with assigned schedules for the day you want the appointment.
Tip
Services must have at least one doctor assigned for available time slots to appear. You can assign doctors to services from the Doctors section by editing each doctor and checking the services they perform.
Step 1 — Go to Appointments
In the side menu, click Appointments. You'll see the full list of all your clinic's appointments with status filters.
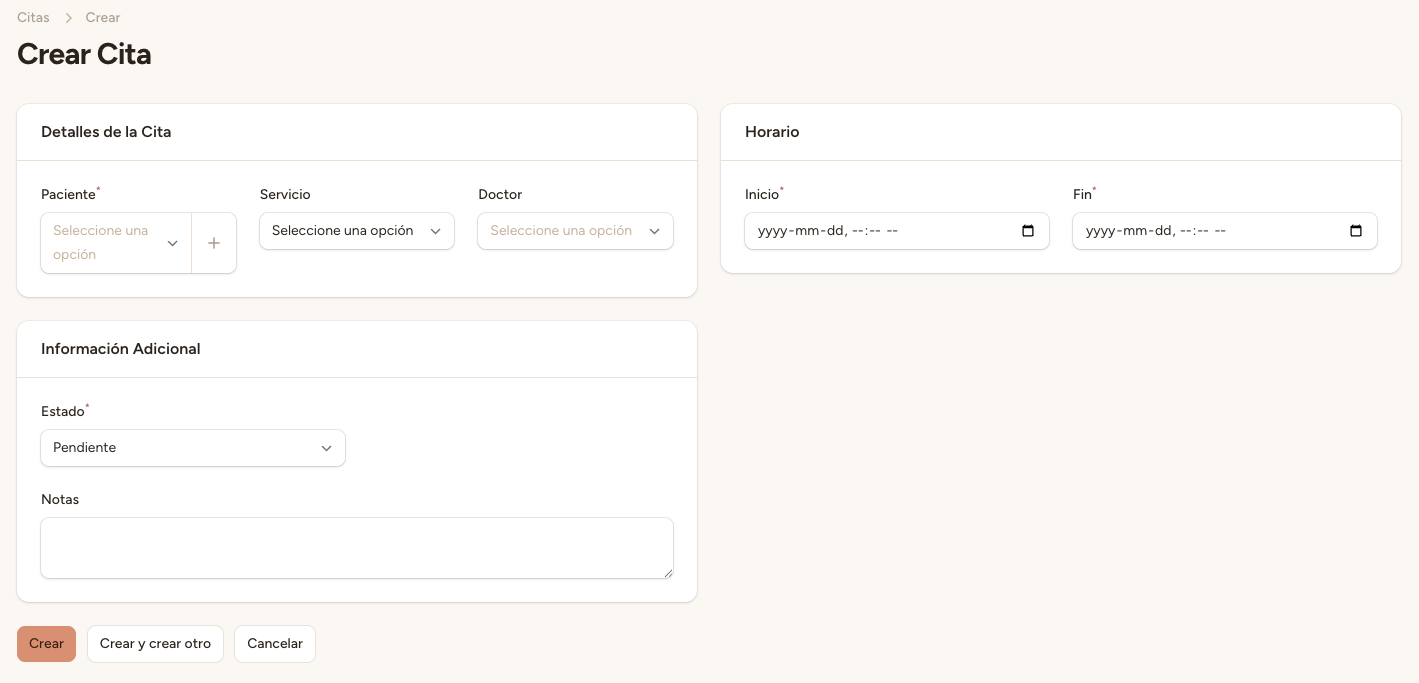
Step 2 — Create new appointment
Click the "New appointment" button in the top-right corner of the screen. The creation form will open.
Step 3 — Select a service
Choose the service for the appointment. The duration will automatically adjust based on the service configuration (e.g., 30 minutes for a dental cleaning).
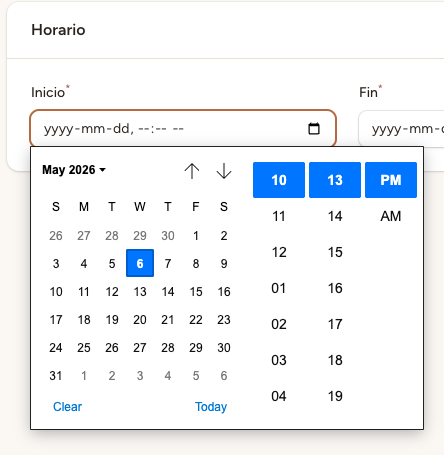
Step 4 — Choose date and time
Select the date. Days without availability appear greyed out with a "No slots" label. Then choose an available time slot from the ones shown by the system.
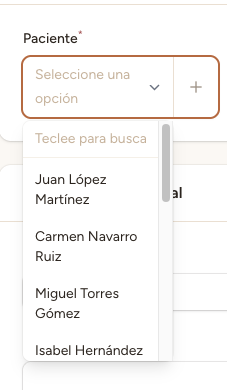
Step 5 — Select or create a patient
Search for an existing patient by name or phone. If they don't appear, enter the new patient's details directly. The phone number is especially important: it allows the AI assistant to identify the patient in future calls.
Step 6 — Confirm the appointment
Review the appointment summary: service, date, time, doctor, and patient. If everything is correct, click "Create appointment". The appointment will be created with Pending status and you can change its status afterwards.
Appointment source
Appointments created manually from the panel have the source "manual". Appointments created by the voice assistant during a phone call have the source "vapi". You can see the source of each appointment in the corresponding column of the list.