Step 1 — Go to the patients section
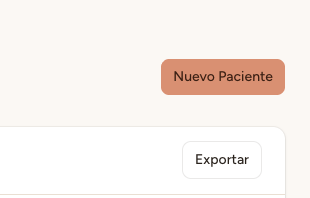
In the left sidebar menu of your clinic panel, click <strong>"Patients"</strong>. Then press the <strong>"New patient"</strong> button in the upper right corner of the list.
Step 2 — Fill in the patient details
A form will open with the fields needed to register the patient. Fields marked with an asterisk (*) are required.
First name* — The patient's first name (required).
Last name* — The patient's last name (required).
Phone — Contact number. We recommend including the country code (+34 for Spain).
Email — The patient's email address.
ID — The patient's national ID number.
Date of birth — The patient's date of birth.
Address and Notes — Optional additional information.
Tip
The <strong>phone number</strong> is especially important. Davoxly's virtual assistant uses the phone number to automatically identify patients who call in, which greatly speeds up appointment booking.
Info
The <strong>ID number</strong> is an optional field, but it is very useful for uniquely identifying each patient, especially in clinics where patients share the same name. We recommend entering it whenever possible.
Step 3 — Save the patient
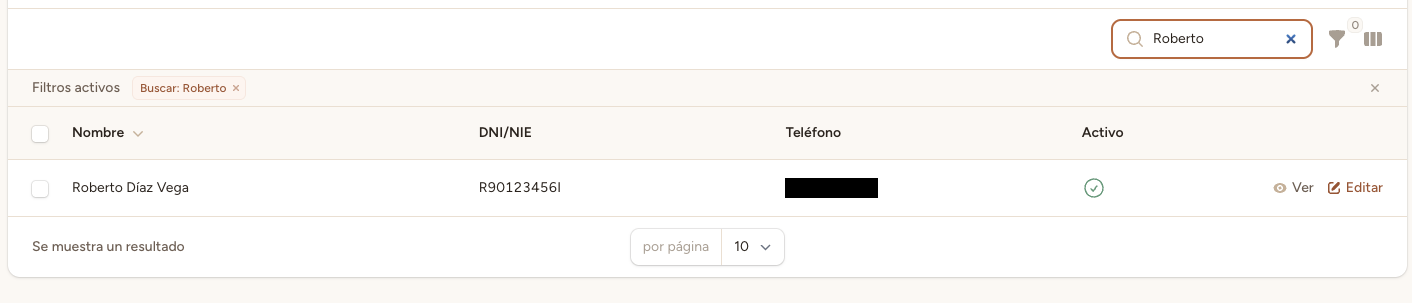
Once you have filled in the details, click the <strong>"Save"</strong> button at the bottom of the form. The patient will be registered in the system and will appear in your clinic's patient list.
If a required field is empty or has an incorrect format, the system will display an error message indicating what you need to correct before saving.
← Back to Help Center